


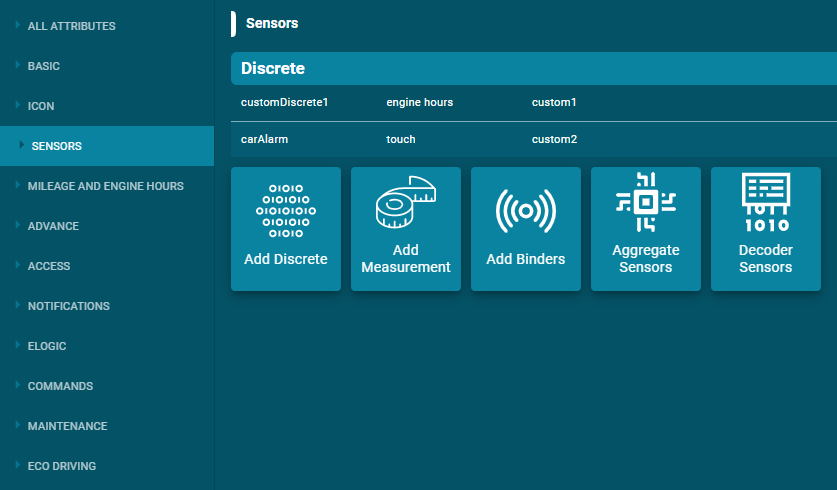
The Sensors tab in the Unit options, displays a list of all the sensors created for this unit. Flotilla IOT provides five different options to add sensors: discrete, measurement, binders, aggregate sensors and decoder sensors. The sensors can be viewed, edited and deleted by clicking on the SENSORS tab. Users need to have access right to create, edit, and delete sensors, otherwise, they can only view existing sensors. By clicking on the SENSORS tab, user can view the information about all three sensors created for the selected unit.
Create Sensor
Flotilla IOT provides five different options to add sensors
- Add discrete
- Add measurement
- Add Binders
- Aggregate Sensors
- Decoder Sensors
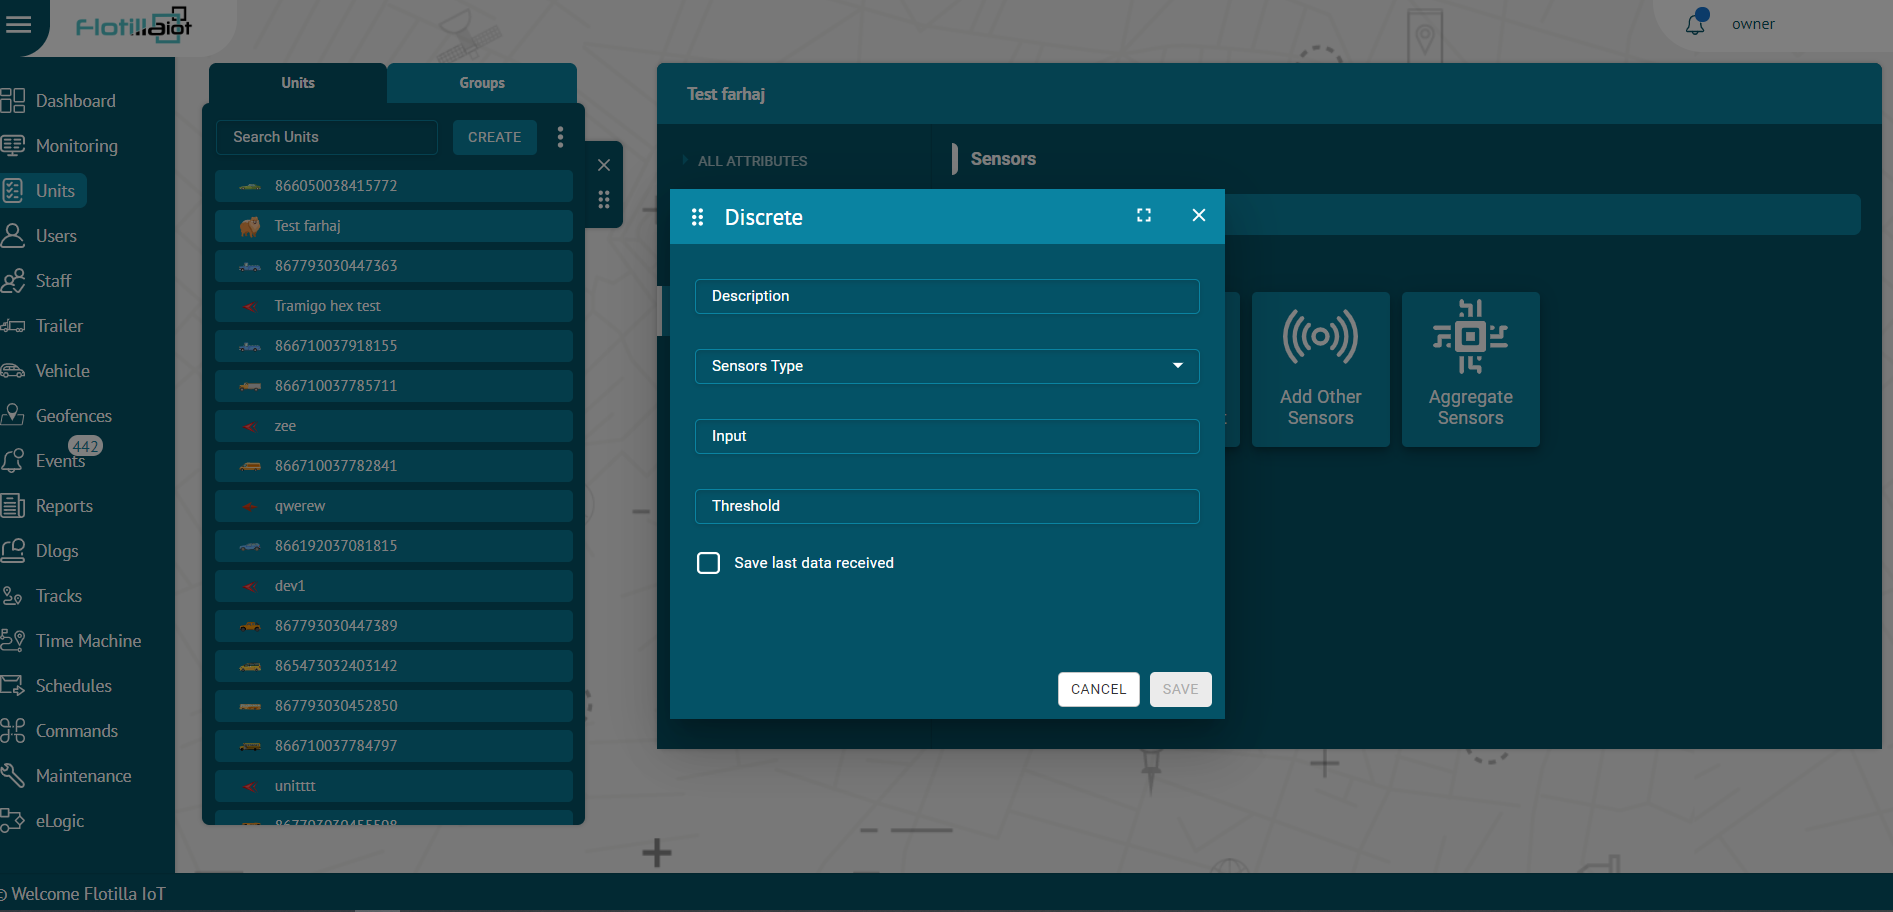
To Add Discrete:
It is a digital sensor that gives the input in the form of true false. It is normally used to check the trueness of a condition. For example, if you add ignition sensor then you will get the result in ON/OFF.
- Click on the Add Discrete button
- Enter the description of the sensor with which you want to display it.
- Select the sensors type from the dropdown list
- Select the Input of data type like odometer, distance, mileage from the list.
- Select a Threshold value after which you want sensor to start collecting data.
- Check the ‘Save last data received’ checkbox to save last received data.
- Click on SAVE button to save changes.
- Click on Cancel button to dismiss changes.
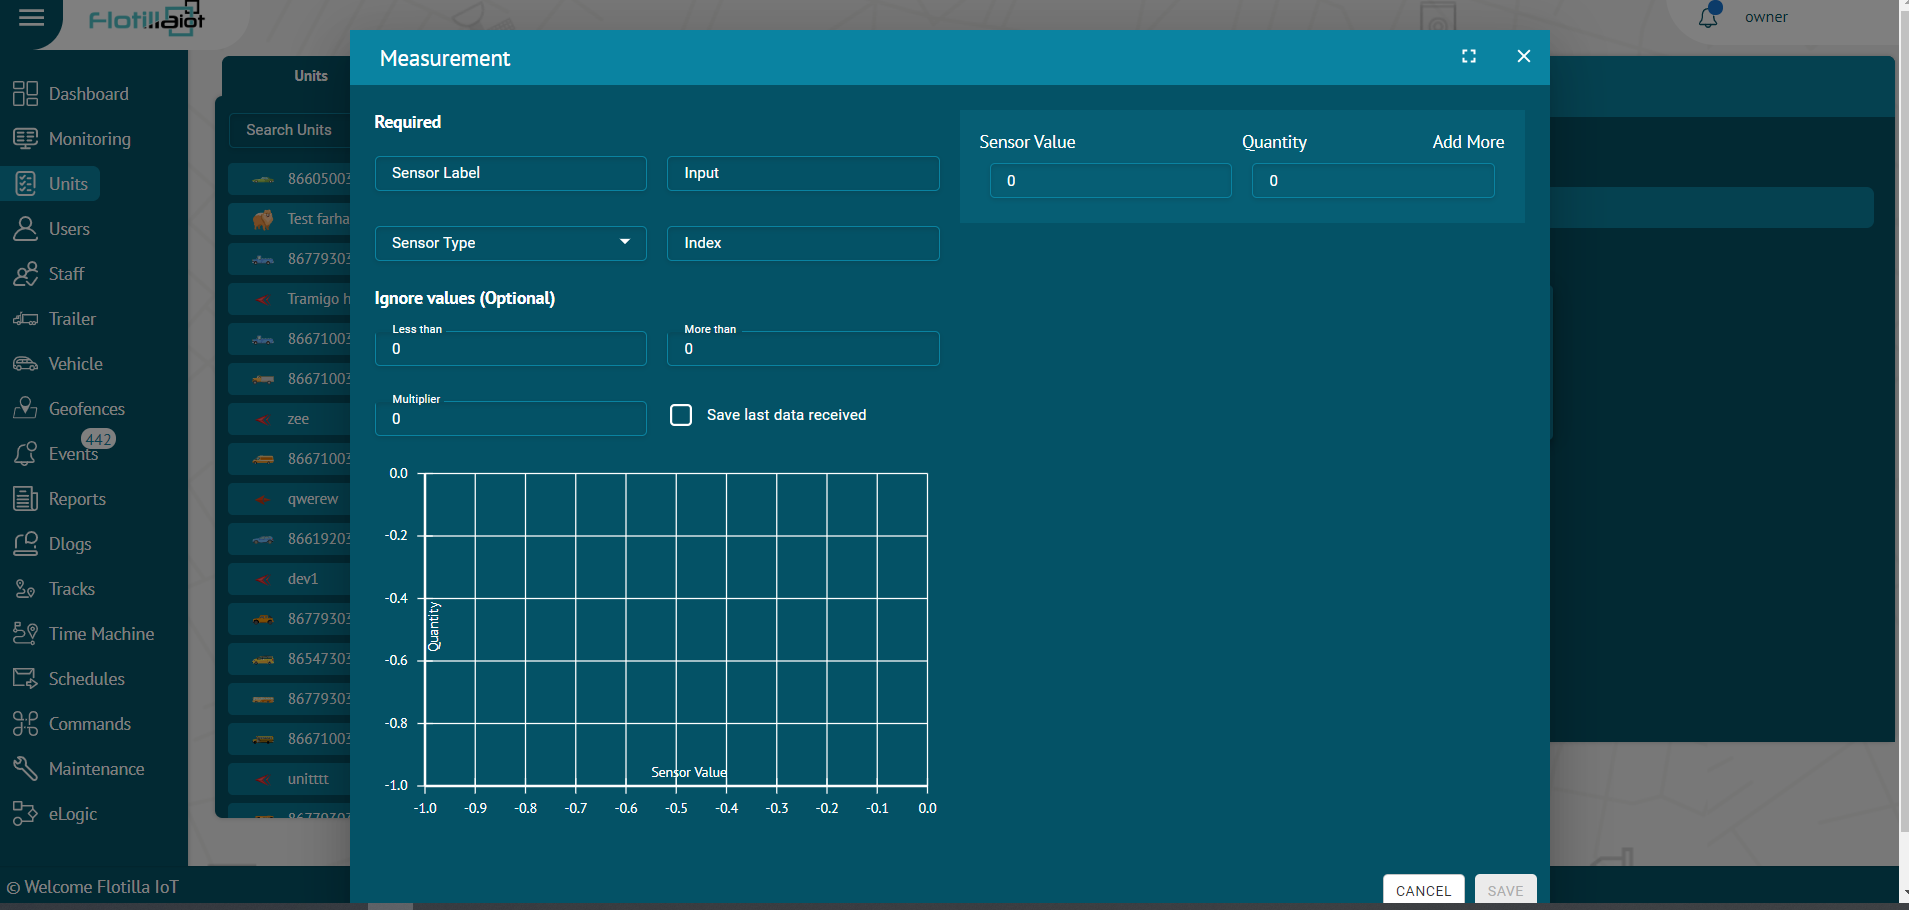
To Add Measurement:
The measurement sensor is used for performing calibration on different inputs fetched from the device. At times, the device does not send data in the form that has to be displayed on the software. By applying calibration, you can display the inputs from the device in the required form. For example, if the device is sending data in the form of voltage, we can convert it into temperature, fuel consumption or any other such parameter.
- Click on the Add measurement button
- Enter the required information like Sensor label, Input, Sensor type.
- Select the sensors type from the dropdown list
- Select the measurement unit and accuracy
- Enter Sensor value and Quantity
- By clicking on ‘Add More’ option, multiple sensor value’ and ‘quantity’ can be set.
- By clicking on the bin icon next to ‘Quantity’, the entries can be deleted.
- Enter the Ignore Values (Optional) which is the range of data that has to be fetched. Any value below the lower limit and above the upper limit will be ignored.
- Add value in the Multiplier option that multiplies the data value with the enter number.
- Check the ‘Save last data received’ checkbox to save last received data.
- Use sensor value and quantity to perform calibration according to your requirement.
- Click on Save button to update changes.
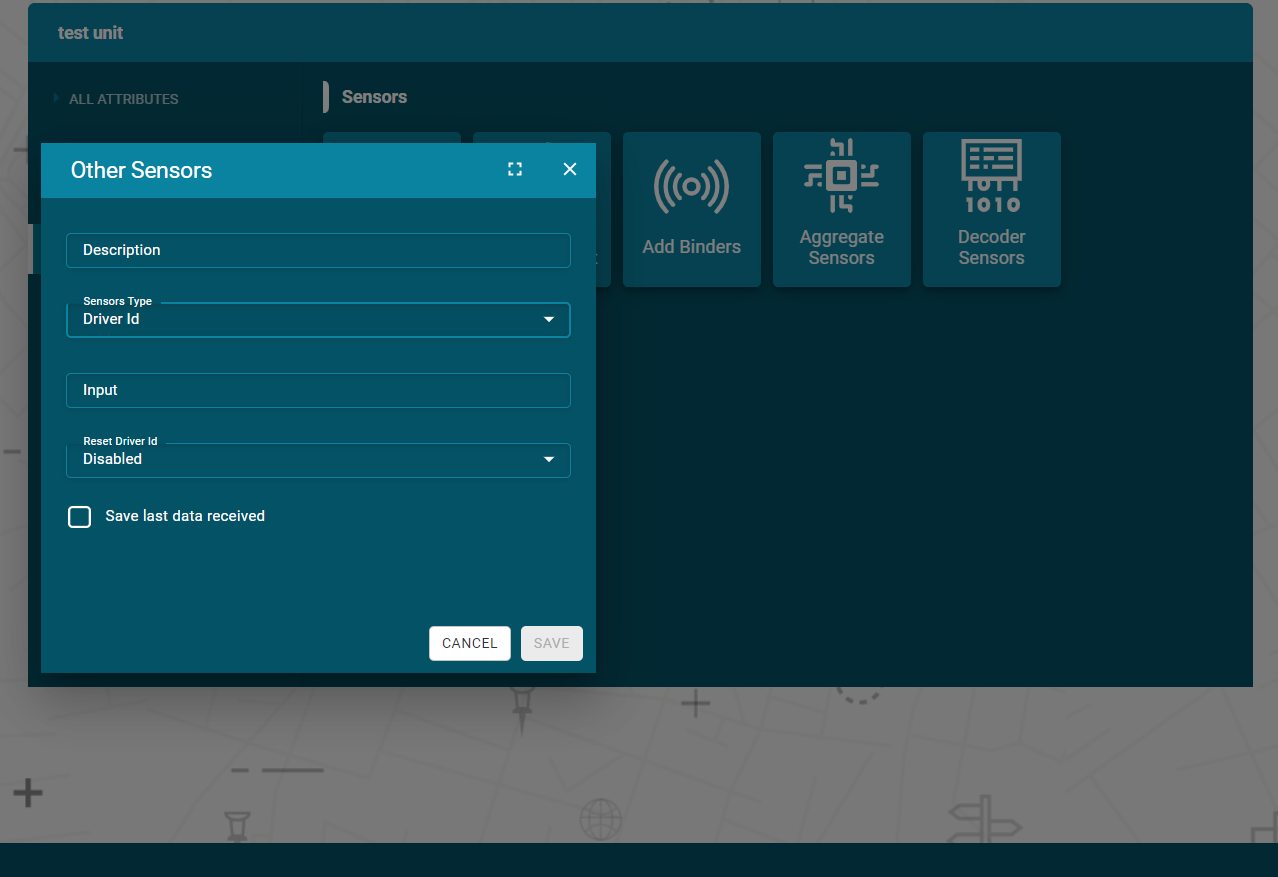
Add Other Sensors:
It includes the verification sensors for driver, passenger and trailers. When a unique ID is punched, it verifies that the authorized driver, passenger or trailer is attached to the unit.
- Click on the Add Other Sensors button
- Enter the description of the sensor
- Select the sensors type from the dropdown list
- Enter the Input
- Check the ‘Save last data received’ checkbox to save last received data.
- Click on Save button to update changes.
Add Binders
It includes the verification sensors for Driver, Passenger, Bin and Trailers. When a unique ID is punched, it verifies that the authorized driver, passenger, bin or trailer is attached to the unit.
- Click on the Add Binders button
- Enter the description of the sensor
- Select the sensor type from the dropdown list
- Enter the Input on which that ID is coming from the device.
- Check the ‘Save last data received’ checkbox to save last received data.
- Click on Save button to update changes.
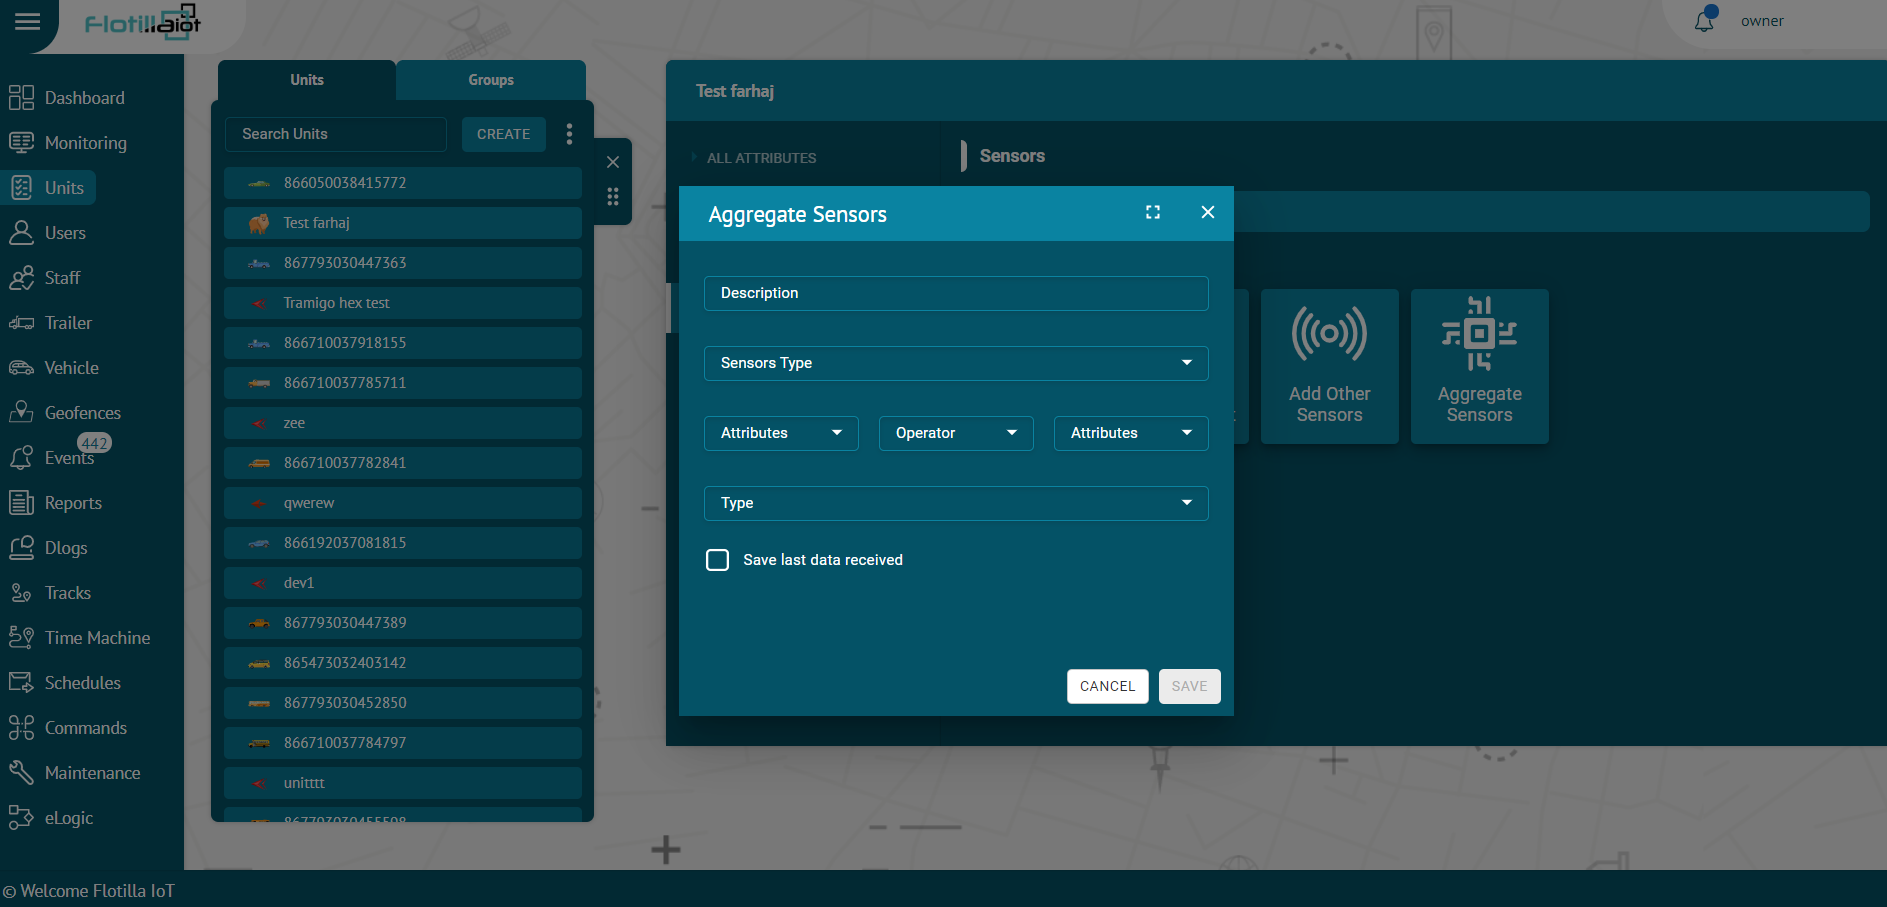
Aggregate Sensors
It is used to calculate aggregate values from the input data. When the device is sending data on certain parameters, you can calculate the value of missing parameter. For example, if device is sending data speed and time then you can calculate distance from it by applying the formula distance = speed*time. You can add the inputs on which the speed and time data is being received and apply multiplication (*) operation on it to get distance value. Similarly collective fuel reading of two fuel tanks can be calculated by adding Fuel Tank 1 and Fuel Tank 2 inputs.
- Description:
Enter the name with which you want to identify the sensor.
- Sensor Type:
There is option of many default sensors along with custom sensor types. The default sensor types are given below:
- Driver ID
- Passenger ID
- Trailer UUID
- Ignition
- Panic Button
- External Power
- Engine Status
- Car Alarm
- Doors
- Fuel
- Temperature
- RPM
- Board Power
- Mileage
- Speed
- Counter
- Avg. Fuel Consumption
- Inst. Fuel Consumption
- Flow Meter
- Attributes:
Click on this option and all the data attributes of the selected unit will be displayed. Select the attribute on which you want to apply operation on both the sides.
- Operator:
Select the arithmetic operation from the list which has to be applied on the attributes.
- Return Type:
Select the return type in which you want to display the result. There are three available options.
- String
- Number
- Boolean
- Save last data received:
By clicking this option, the software will consider the last value otherwise not. It is usually used when the new data value from the device is delayed so the last saved data will be considered.
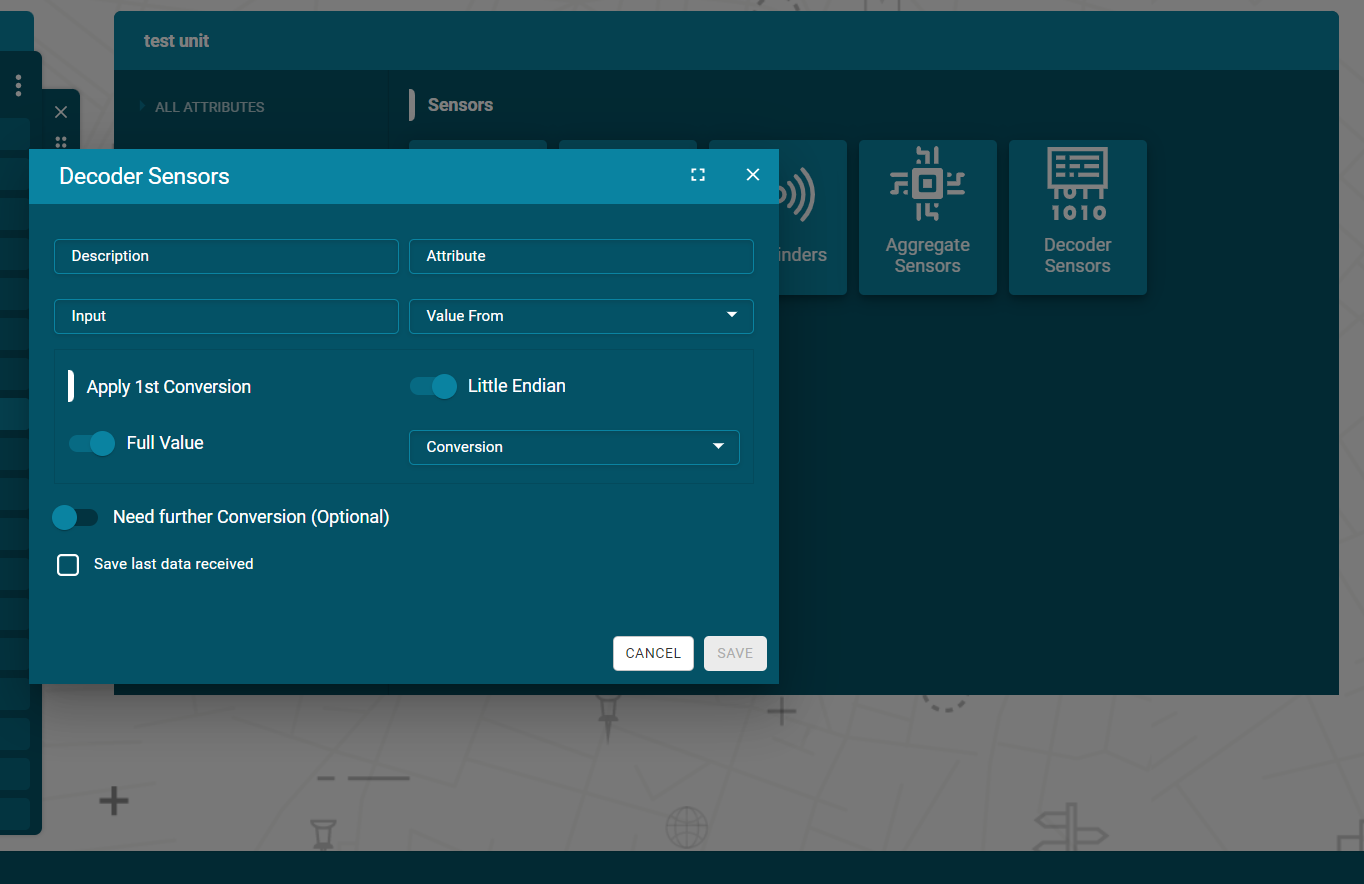
Decoder Sensors
Decoder Sensors are used to convert data in your required format. For example, Decimal, Binary, Hexadecimal etc.
- Description:
Enter the description of the sensor.
- Attribute:
Enter the attribute of the data format that you want to convert.
- Input:
Enter the data input on which that data format is being received.
- Value From:
Select the data format which you want to convert from the dropdown list.
- Conversion:
Select the data format in which you want to convert the value.
- Need Further Conversion:
Click on this option for further conversion.
- SAVE:
Click on the save button to create the sensor.
Delete Sensor
To delete a sensor:
- Select the sensor from the sensors list and click on Delete icon next to its name.
The sensor will be deleted successfully and will not be displayed in the sensors list.
Update Sensor
To update a sensor:
- Select the sensor from the sensors list and click on Edit icon next to sensor name.
- Change the information that you want to update and then click on UPDATE button.
The sensor information will be updated successfully.