


The FLOTILLA IoT CMS Platform brings user administration, tracker management, role and permission control, report template design, auditing and deleted-record recovery together in one web application. This chapter introduces the modules, explains how to move around the platform, and gives a recommended order for setting up a new customer.
1.1 Platform Modules
The platform consists of six modules, listed in the main menu on the left in this order. Each one is described in its own chapter.
| Ch. | Module | What it does |
|---|---|---|
| 2 | Users | Creation and management of users, with their roles, accounts and login activity, and the option to sign in as another user. |
| 3 | Trackers | Registration, import and export of the tracking units on the platform. |
| 4 | Action Logs | Audit trail of logins, logouts and other actions. |
| 5 | Role Management | Definition of roles and the permissions that come with them. |
| 6 | Report Template Generator | Design of the report templates that are used to generate reports. |
| 7 | Trash | Recovery or permanent removal of deleted records. |
1.2 Navigating the Platform
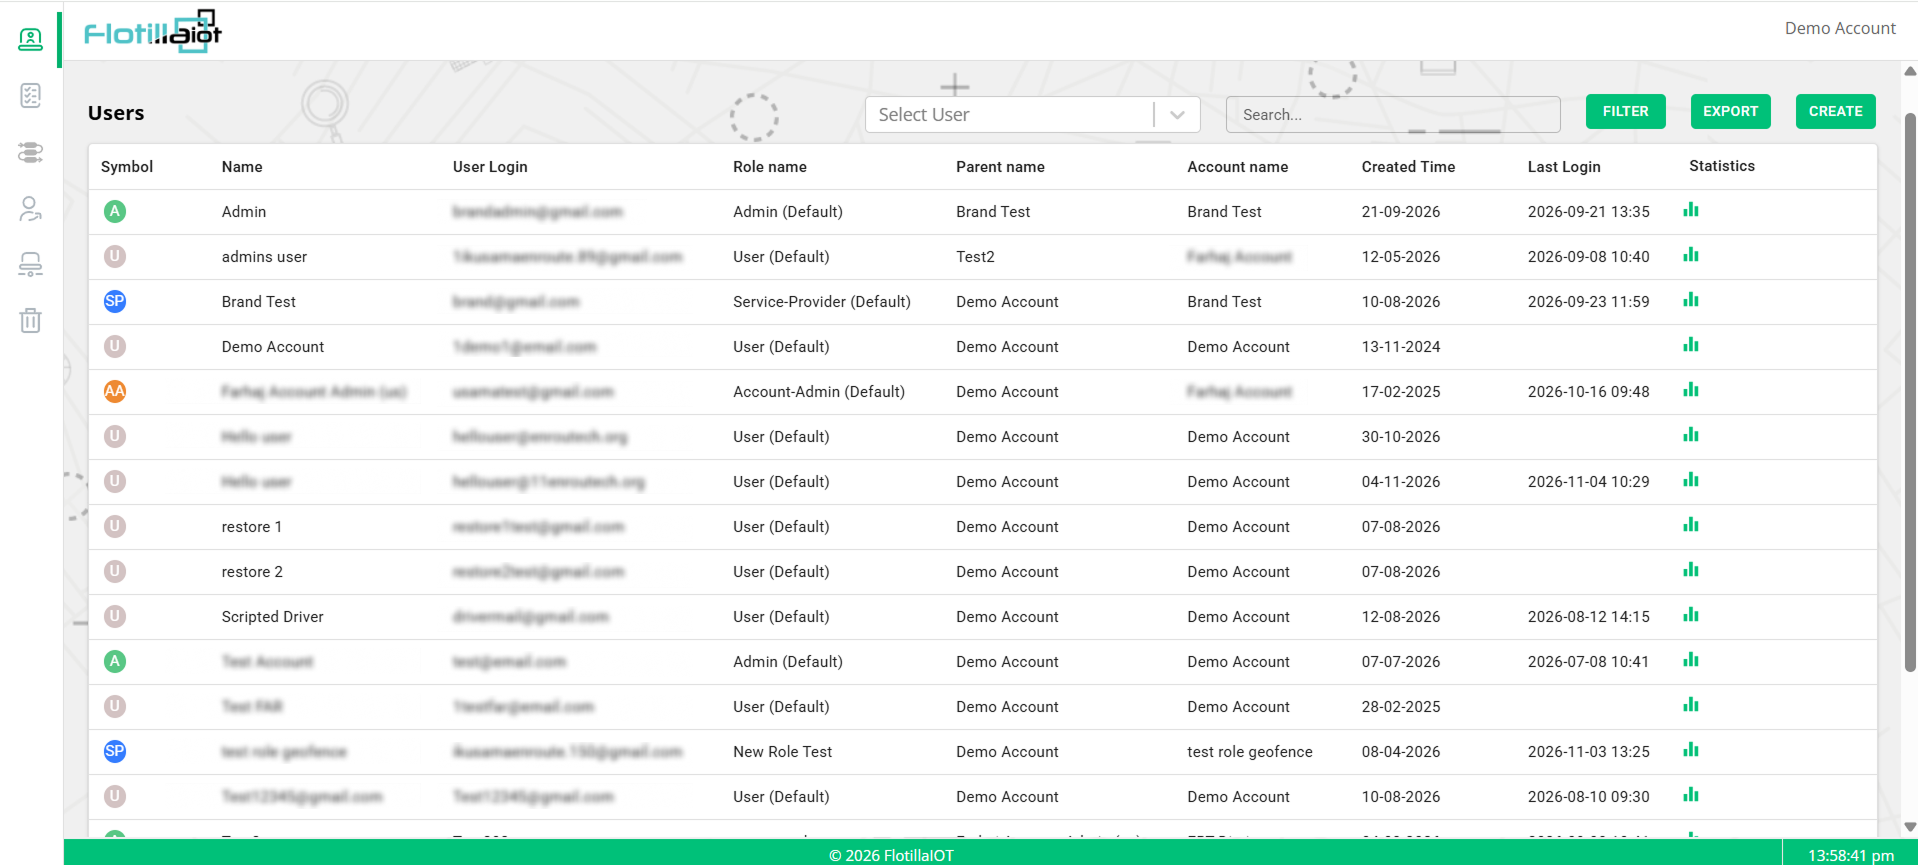
Every screen shares the same layout, so once you know one module you can find your way around the others:
- Main menu — the menu on the left has one icon for each module, in the order of the module list in section 1.1. The module you are working in has a green marker at its left edge.
- Top bar — the logo is at the top left. The name of the account you are signed in with, for example Demo Account, is at the top right.
- Page title and toolbar — list pages show their title on the left and their tools on the right: A Search box and buttons such as FILTER, EXPORT, IMPORT and CREATE.
- Data table — records are shown in rows, with the column headings at the top. Scroll down to see more rows.
- List and details panels — Role Management and Report Template Generator show a list on the left and the details of the selected item on the right. The green arrow tab on the panel edge hides or shows the list.
- Footer bar — the green bar at the bottom shows the copyright notice and the current time.
1.3 Quick Start: Setting Up a New Customer
When you onboard a new customer, the following order gives the best results. Each step points to the chapter with full details.
- Prepare the roles the customer needs in Role Management, or choose from the default roles (Chapter 5).
- Create the users in Users with CREATE, and give each one a role (Chapter 2).
- Register the trackers in Trackers, one by one with CREATE or many at once with IMPORT (Chapter 3).
- Prepare report templates in Report Template Generator if the customer needs reports that are not already available (Chapter 6).
- Check the result by signing in as the new user with Login as User (Chapter 2).
- Review activity in Action Logs and tidy up in Trash when needed (Chapters 4 and 7).
1.4 Signing in and Account Basics
You work with the platform in a web browser. Your platform owner gives you the CMS address and your sign-in details.
- Sign in with your user login and your password.
- Account name — the account you are signed in with is shown at the top right of every screen.
- Temporary sign-in as another user — when you use Login as User (Chapter 2), a blue banner at the top of the screen reminds you that you are signed in as someone else, with a Switch back link to return to your own account.
1.5 Accounts, Users and Parents
Every user belongs to an account, and an account sits under a parent. The Users list shows this structure in the Parent name and Account name columns. The parent decides who sits above whom, so create accounts in the right order, from the top account down.